Cooking for one again. Yeah, I know. That’s a lot of food for one person.

A food memoir of weight loss, family recipes, digital cookbook and nutrition information for family and friends
Cooking for one again. Yeah, I know. That’s a lot of food for one person.
Cooking For One is Not Fun is still not fun even after yesterday’s mini-rant. The plan was simple: go to the store, buy two rotisserie chickens, rip the meat off the bones and make a quick simple dinner. Well I didn’t fix any dinner and now I have a tub full of cooked chicken. After a hearty breakfast of pancakes, peanut butter and banana I started thinking about lunch.
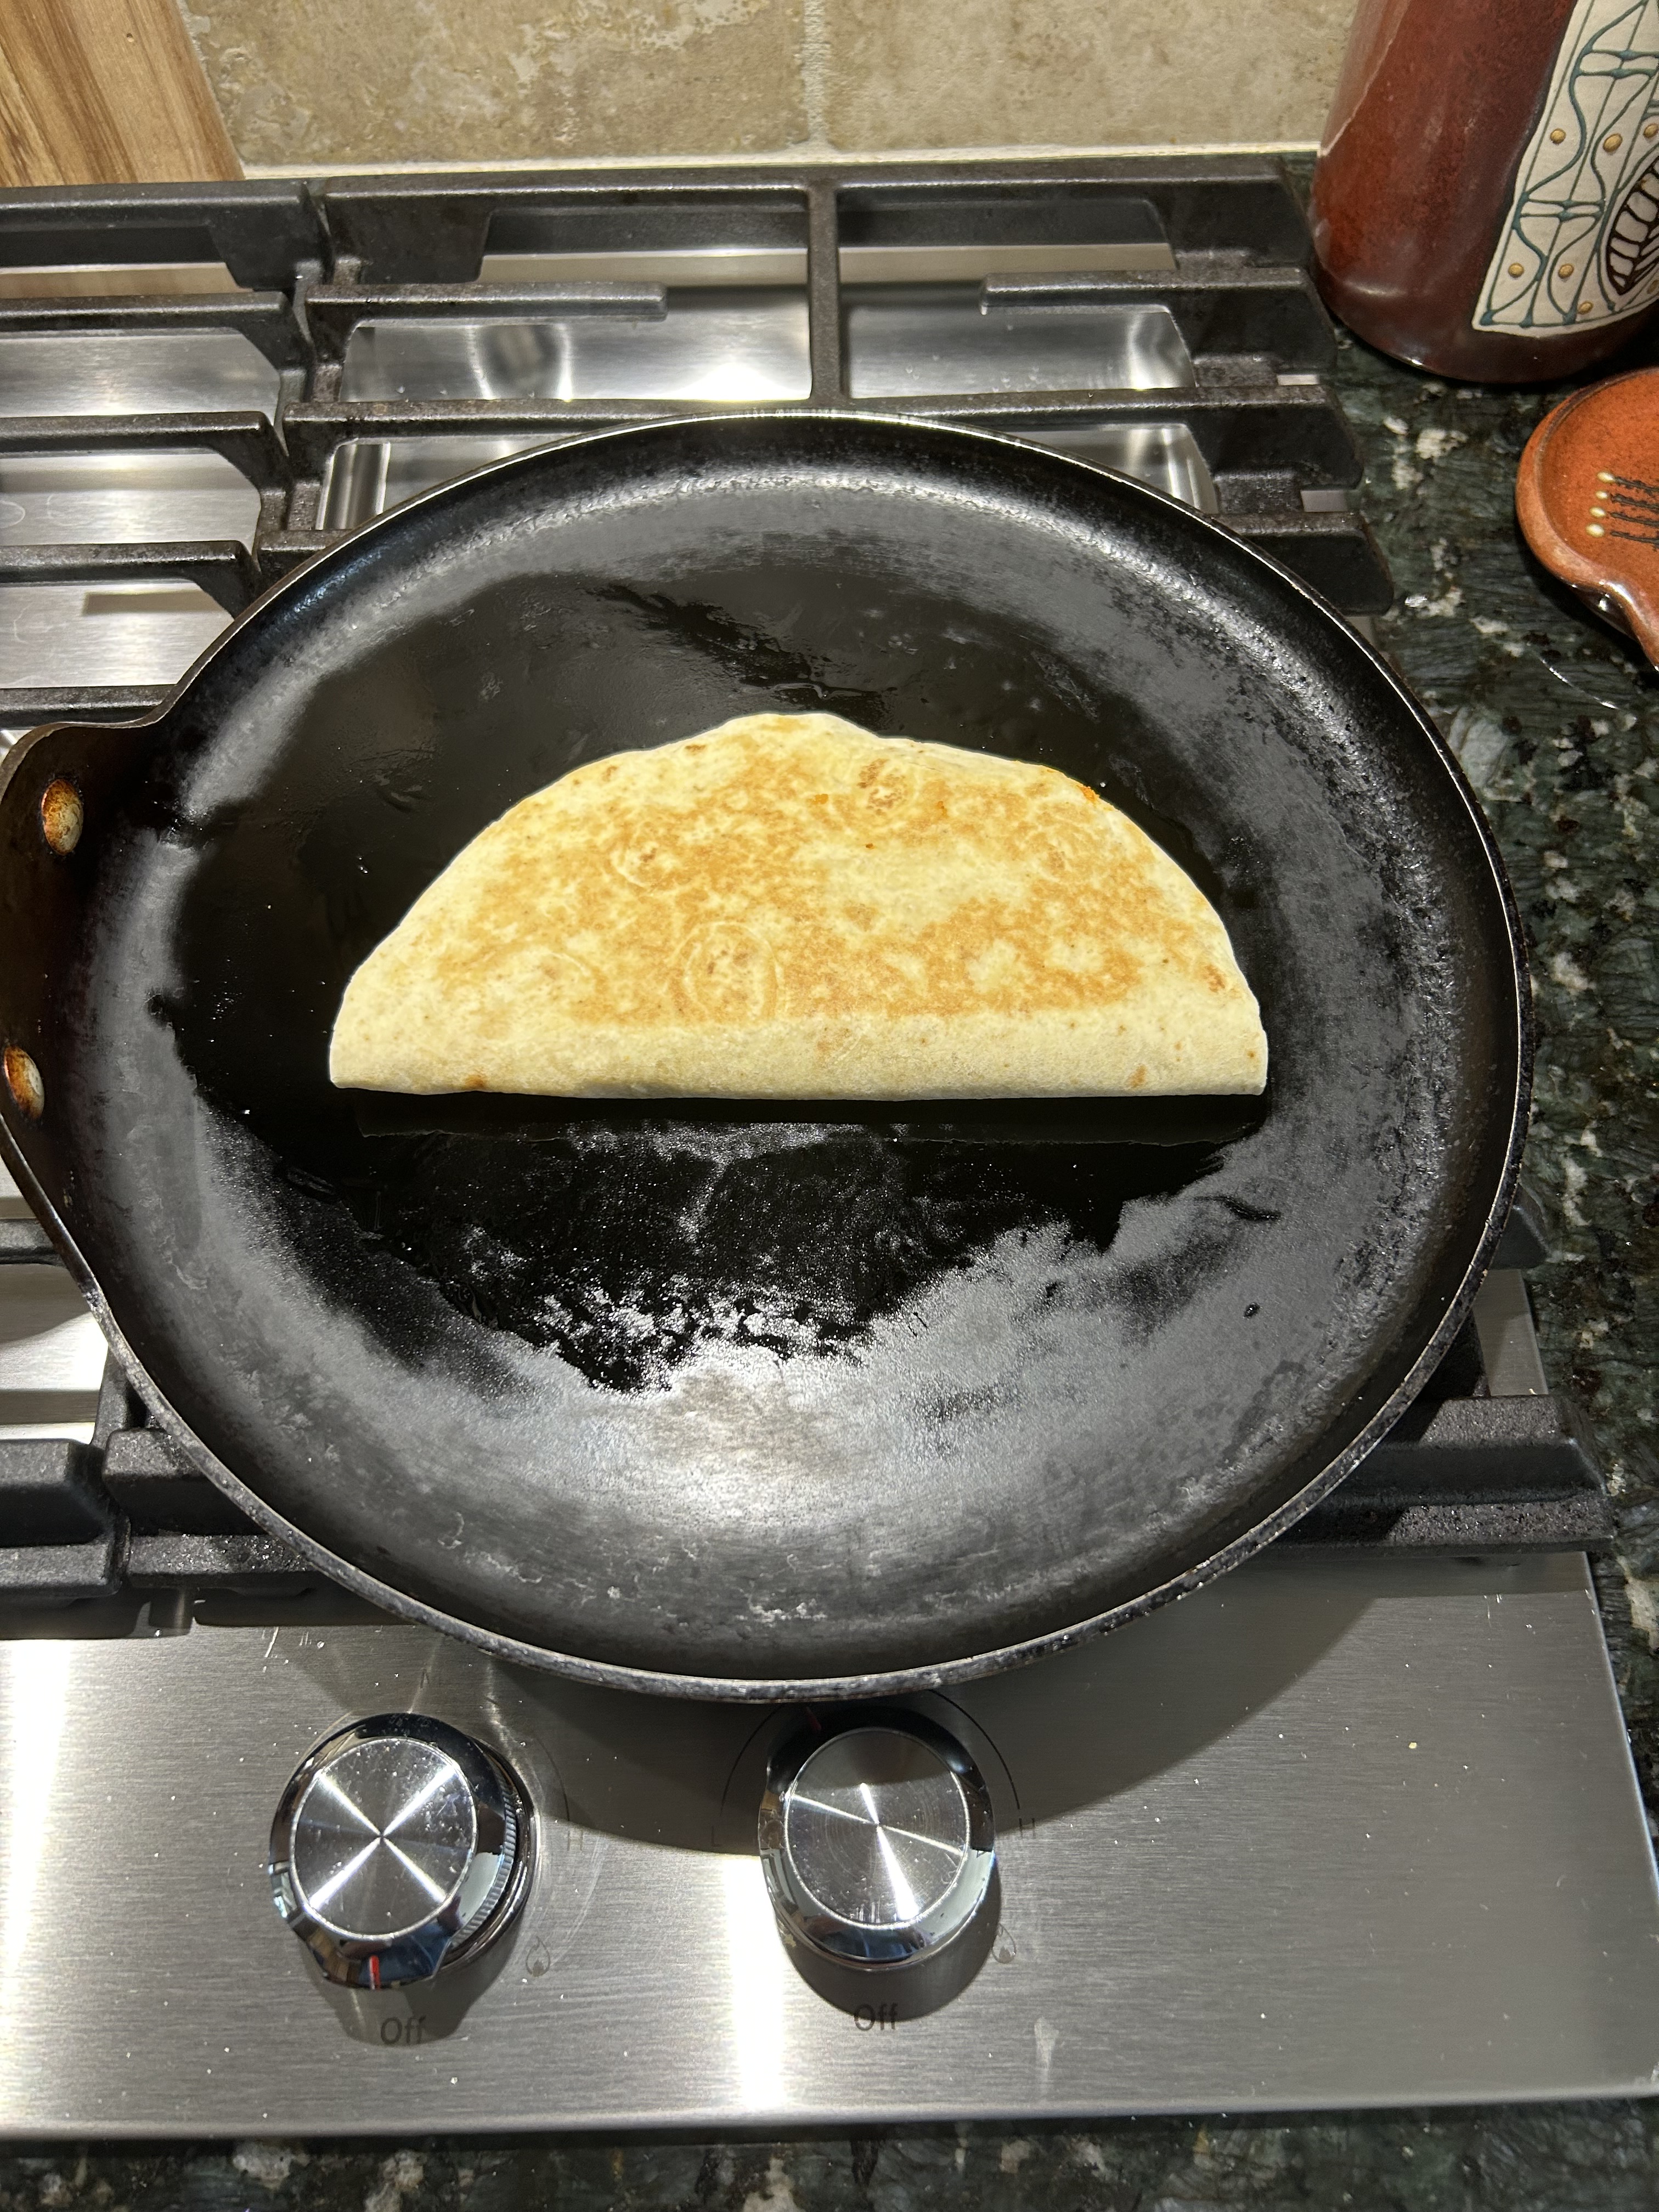
I found two small sweet potatoes, tortillas and Monterrey Jack cheese.
Quesadilla time!

Yeah, the picture above is cheating. Here’s the real shot.
The Bottom Line
Tasty. But I said it before and I’ll say it again. Cooking For One is Not Fun and this was a lot of work to make one quesadilla. At least I’ve worked out the spice combo and the flavors are fine. I did end up mixing a few dashes of Sriracha into the potato. Cooking for one needs to be quick, simple, filling, and nutritious. This quesadilla did not meet the “quick” criteria.
In the future consider the following:
This post is #9 in my One Rotisserie Chicken, 50 Meals – The Concept series that I started 12 years ago. At this pace I won’t live long enough to finish the series. At least no one pays me for my content. Maybe I’ll change the title to One Rotisserie Chicken, 10 Meals and declare this series done.
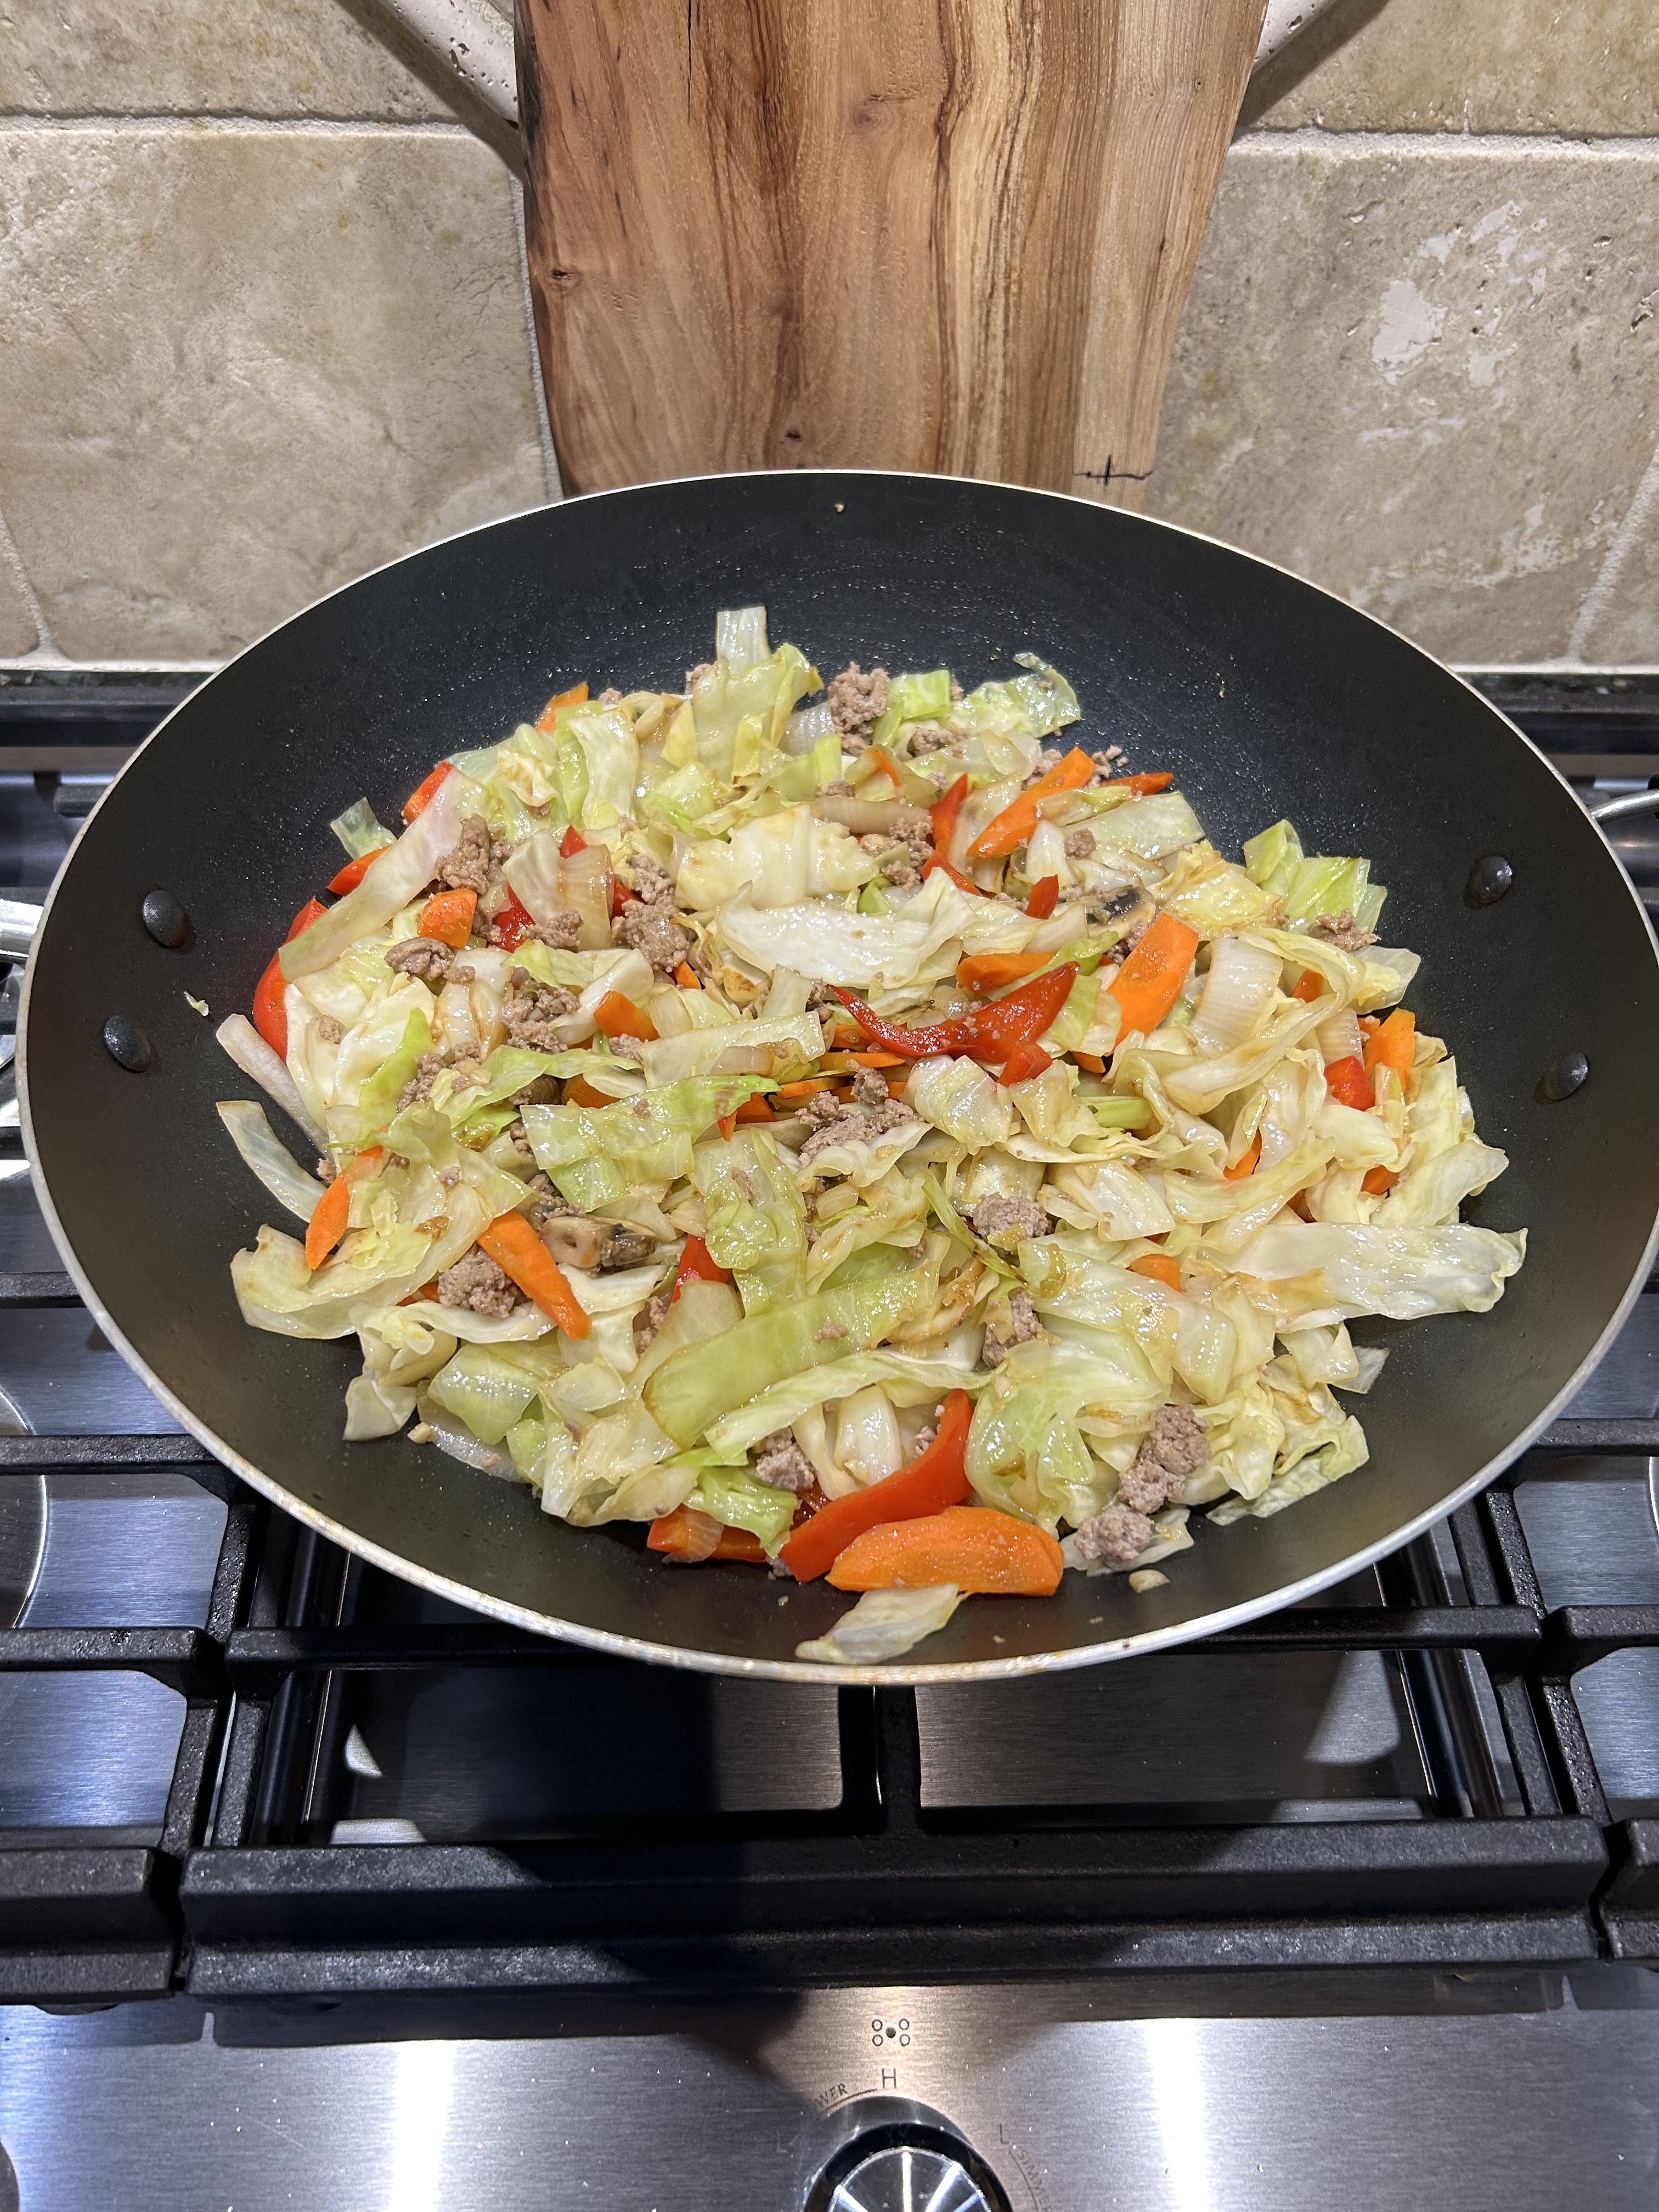
Cooking for one person is not fun but sometimes I do it anyway. I like to try new recipes on myself so when there’s a failure no one gets hurt and the attempt at something different gets tossed out. Earlier this week I made a pot of Vegetarian Badass Black Eyed Peas – 2022 and decided to de-veg it by tossing in a couple of chicken sausages from the freezer. The sausages had some stewed tomatoes in it and I needed stewed tomatoes for the beans and…I tossed everything together. I think this might be a new bean dish in the fall/winter rotation. But besides experimenting with new dishes another thing I like to do when dining alone is to use up leftovers from the freezer.
For lunch I found what I thought was chili and defrosted it only to discover it wasn’t chili but meat sauce. Then I found two single serving containers of penne with tomato sauce (marinara?) and I defrosted them, spread the pasta into a baking dish, added some freshly grated cheese and dumped the sauce on top. Then I added more grated cheese. This is what I ended up with.

By dinner time I was completely in the no cook mode. So I went to the store and bought two rotisserie chickens. After putting away the other items I bought I carved the chicken off the bones while thinking about what to make for my dinner. After snacking on quite a few pieces of chicken while carving I wasn’t hungry anymore and decided not to make anything for dinner. Now I have two chickens all off the bone and I still haven’t a clue what to make with all this chicken.
At least I know whatever I decide to make tomorrow there will be chicken in it.
Guess I’ll be adding to my One Rotisserie Chicken, 50 Meals – The Concept recipe lineup I started years ago.
I was mystified. Butter beans — or lima beans, as I grew up calling them in the Midwest — are the most banal of ingredients, a boring bean relegated to the darkest corner of every home cook’s pantry. Why, then, were food influencers drowning them in luxurious sauces, crisping them up as a crouton substitute, and braising them as if they were a fine cut of meat? What the heck was going on?
Beans, broadly speaking, are having a moment. The dry bean market is expected to grow to $8.7 billion by 2028, while the canned bean industry raked in $5.65 billion in 2023 and is projected to be worth a whopping $15.5 billion by 2033, according to the market research firm Fact.MR.
How Butter Beans Went From Gross to Glamorous — https://www.eater.com/24008145/why-are-butter-beans-so-popular
Beans are cheap and nutritious. More people will be incorporating this staple into their diets because they are unable to afford the more expensive foods.
It’s not the vegan/vegetarian/let’s save the world movement. It’s basic economics.
Updated 11.05.13
The Boss: “I’ll make the sauce.”
Me: “Why?”
The Boss: “Because your sauce is too thin and the casserole gets too runny.”
Recipes change with time and repeated preparations. But sometimes the changes you’ve made were not necessarily an improvement to the dish. Lesson learned. Time to update this family classic. You don’t want the original recipe. Don’t use One Rotisserire Chicken, 50 Meals – #3 Sour Cream Chicken Enchillada Casserole. Make this one.
Sour Cream Chicken Enchilada Casserole
This recipe started with a version from Delicioso! Cooking South Texas Style. The original recipe from the cookbook has sour cream sauce quantities similar to the updated version and not the too thin, too runny, bad quantities I had been using. The original also called for a full pound of Monterrey Jack cheese, no cheddar. Uh, no. Also included were jalapenos which would be wicked good but by subbing mild green chilies you get a child friendly dish if you know what I mean and I think you do.
Tips – Cut up the chicken first and snack on those tiny tidbits of meat that you have to pick off the bones with your fingers. Do not use pre-shredded cheese. Period. Trust your significant other when she says your sauce is too thin and it makes the casserole too runny. Make some fresh Guacamole – Asian Inspired and Updated and serve with chips. Beans and rice for sides obviously. Don’t forget the beer.
The Two Chicken Change to the Recipe –
Two birds because all of the ones you find in the grocery stores (not Costco) are really small. We used to call them Cornish Hens. Seriously, pigeons are bigger than the rotisserie chickens nowadays.
A long time ago in a galaxy far, far away I used to make Crispy Black Bean Tacos with Feta and Cabbage Slaw – Bon Appétit. Tonight was a good night to have black bean tacos so I pulled up my original post from nearly eight years ago Crispy Black Bean Tacos with Feta and Cabbage Slaw – (NOT) Bon Appétit
No surprises this time. I make these tacos differently now. Time for another revision.
The Beans
The Slaw
Taco Things
The Slaw
This recipe will make enough for 4-6 tacos. If you need more servings, double the bean recipe and buy more taco shells. You will not need to double the cabbage slaw portion. You’ll have plenty.
Construct your tacos.
TIPS –
We recently discovered La Tiara authentic Mexican taco shells from Gladstone Missouri. Yeah, I was thinking the same thing as you until I tried these shells. Use bagged sliced slaw for pure convenience. Fresh cabbage? Only if you have the time and eschew convenience. Fresh avocado would be nice. Beer is also a perfect side dish for these tacos.
Veganistas – use vegan cheese.


Mouth watering delicious, Chicken is dredged in finely grated parmesan cheese, then served in a lemon and parmesan cream sauce with fragrant garlic, which make this dish more palatable and delicious. Ingredients for making the Chicken For The Chicken: 2 large boneless and skinless chicken breasts halved horizontally to make 4 2 tablespoons flour (all purpose or plain) 2 tablespoons finely grated […]
via Chef’s Nectar, “ Creamy Lemon Chicken Piccata” — Chefs Nectar
I’m re-blogging this recipe for future reference. The recipe is a tad bit different than my version which is probably still in my head.
“Send pictures of the Tiny Human.”
“Only if you send me your Citrus Gazpacho recipe.”
The exchange was made and Frenchy’s recipe follows:
Revised 03.11.18
“Why don’t you make those veggie burgers that you used to make?”
Well, nothing ever stays the same. Not even my World Famous Wheat Germ Veggie Burgers.
Revisions ( in other words what happened?)
How is it possible a grocery store on a SUNDAY has NO MUSHROOMS? The only plain white button mushrooms were the pre-sliced variety. They were brown and old. I guess I could have bought some of those fancy gourmet mushrooms for a gazillion dollars a pound. Or I could have stopped at another store for mushrooms. In the end I decided to just wing it.
So, no mushrooms. Dried shiitake? No, too Oriental for me. In the place of mushrooms I caramelized a medium sweet onion and also added some riced up cauliflower.
In about 20 minutes we’ll find out if the substitutions works.
The text message arrived after we were asleep. The urgency was palpable.
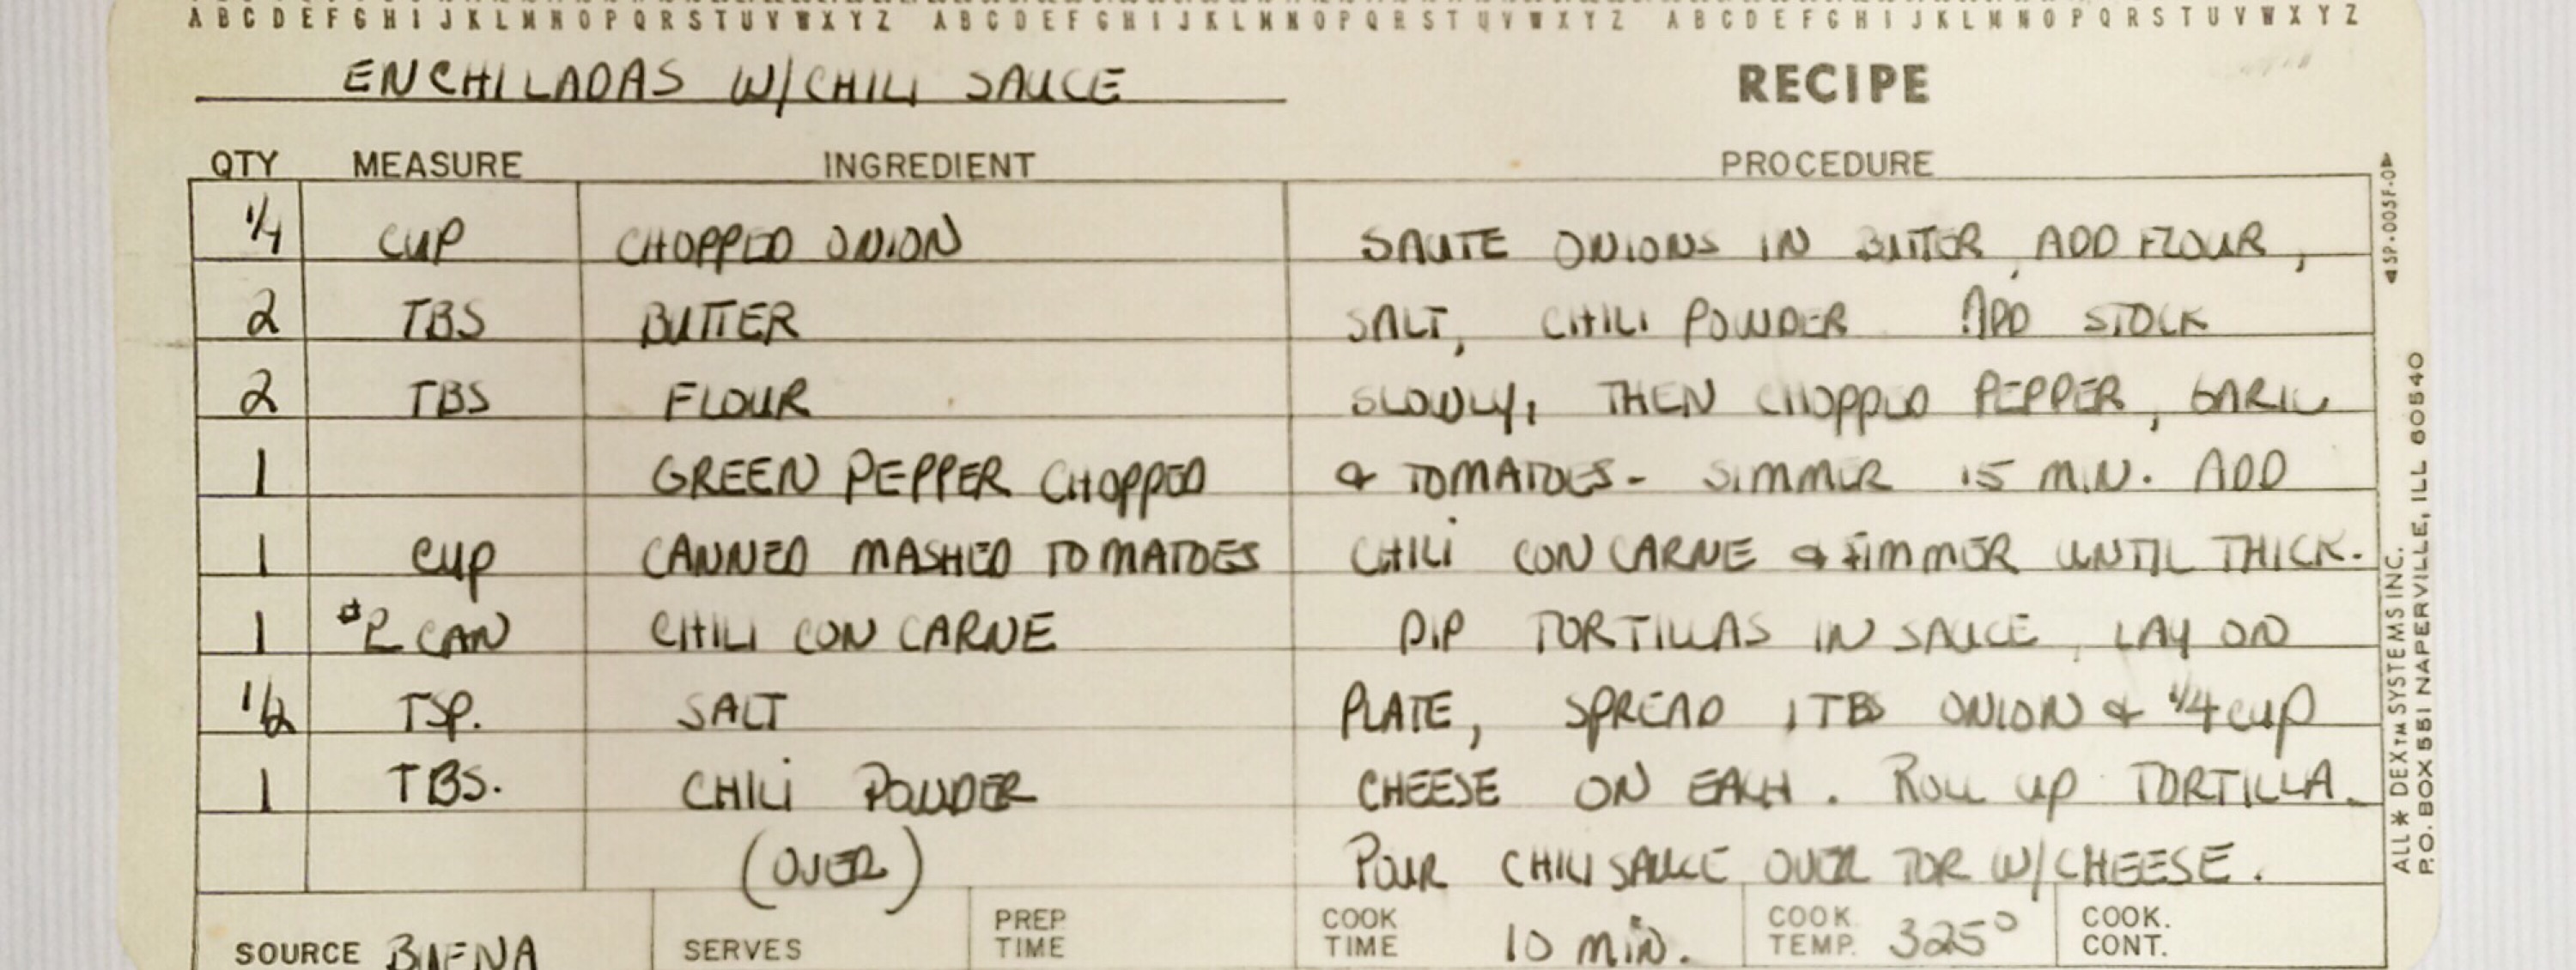
“Need your enchilada recipe in the AM. Please send.”
Parents are accustomed to dealing with emergencies like this. But WHICH enchilada recipe? If you’re looking for the chicken enchilada with sour cream version click here One Rotisserire Chicken, 50 Meals – #3 Sour Cream Chicken Enchillada Casserole.
It was a perfect opportunity to use my PhotoScan app and add to The Box Project. But before I forget, here are the remaining ingredients from the back side of the recipe card:
Filling
In the lower left corner you’ll find Source: Buena. This recipe came from one of Grandma and Grandpa’s neighbors in Texas. Nothing fancy here. Just plain old Tex-Mex comfort food.
I think the crappy photo scan can’t be enlarged. So here is the front of the card:
Tips
I sent him a text to tell him to use yellow corn tortillas, the white and flour don’t work as well. Also he would need to heat up each tortillas if was going to make cheese enchiladas or the tortillas will break.
There you go.
